
6 Pre-Writing Activities for 3-5 Year Olds at Home: Build Pencil Control Before Worksheets
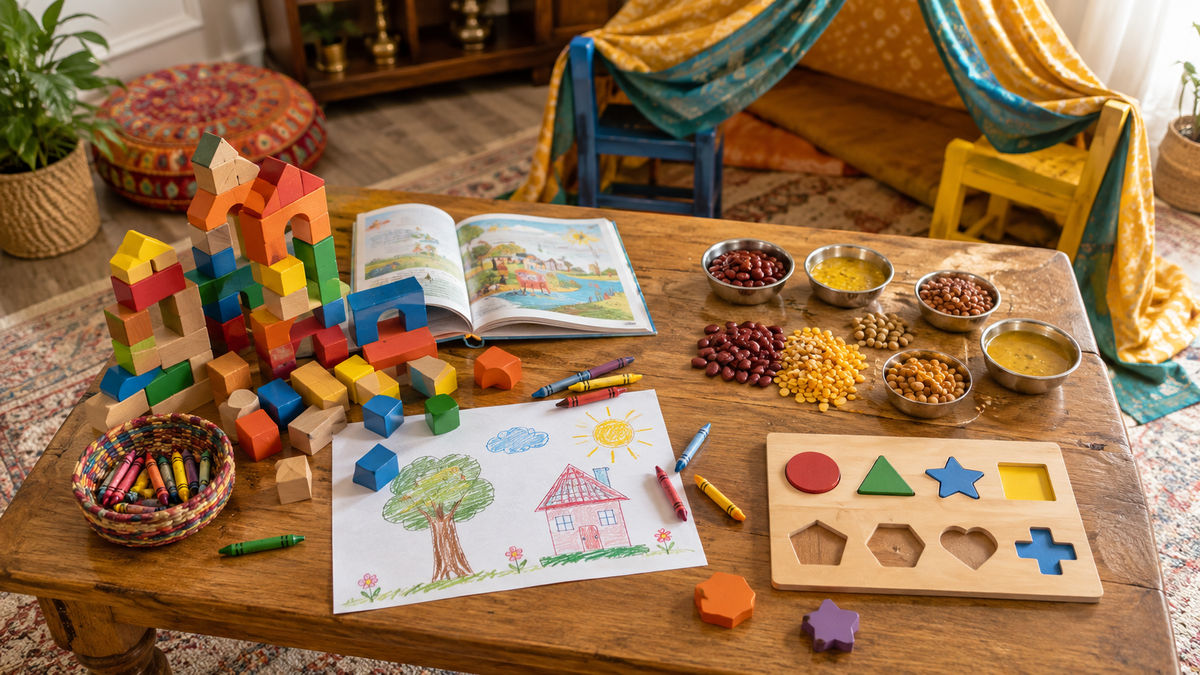
Pre-writing activities for 3–5 year olds focus on building hand strength, finger control, and pencil grip readiness through play—not worksheets. Finger-tracing patterns, tearing paper, moulding clay, threading, and water-painting are more effective than formal writing practice before age 4.5 years, according to the National Education Policy 2020 framework for early childhood.
⚡ In a hurry? Our quick picks


Most Indian parents introduce pencils and worksheets around age three, hoping to get a head start on writing. What actually happens is tiny fists clench the pencil, lines wobble across the page, and frustration builds—for both child and parent. The real foundation for writing isn't worksheets. It's hand strength, finger isolation, and the muscle memory of a stable grip. Before any letter shape matters, your three-year-old's hands need to be ready.
🏆 Quick comparison: our top picks
| Product | Award | Rating | Price | |
|---|---|---|---|---|
|
123 Count with Me: An Interactive Numbers Book With Tracks to Trace and Flaps to Flip! (Smart Kids Trace-and-flip)
|
🏆 Editor's Choice | ★ 4.8 4,600 reviews |
₹346 | Check price → |
|
Lyrovo Magnetic Alphabet Letters for Kids – 26 Capital ABCD Animal Magnets - ABCD Toys for Kids
|
💰 Best Value | ★ 4.4 281 reviews |
₹241 | Check price → |
|
Intelliskills Premium 7-in-1 Brain Boosting Flash Cards for Kids,190 Cards,Flash Cards for 1+ Year Old Baby,Montessori Education Toy for Toddlers,Preschool Learning Activities,Waterproof,Birthday Gift
|
👑 Premium Pick | ★ 4.4 1,200 reviews |
₹359 | Check price → |
🛒 Our Top Picks
Best-reviewed overall, 4.8★ across 4,600 ratings.
123 Count with Me: An Interactive Numbers Book With Tracks to Trace and Flaps to Flip! (Smart Kids Trace-and-flip)
- ✓ Why it fits: Encourages finger-tracing movements on textured surfaces, directly preparing hand muscles for pencil grip and writing.
* We earn a small commission — at no extra cost to you.

Top rating for the price, 4.4★ at ₹241.
Lyrovo Magnetic Alphabet Letters for Kids – 26 Capital ABCD Animal Magnets - ABCD Toys for Kids
- ✓ Why it fits: Builds pincer grip and finger dexterity through picking, placing, and tracing letter shapes on surfaces.
* We earn a small commission — at no extra cost to you.
Top of the range, for parents who want the best features.
Intelliskills Premium 7-in-1 Brain Boosting Flash Cards for Kids,190 Cards,Flash Cards for 1+ Year Old Baby,Montessori Education Toy for Toddlers,Preschool Learning Activities,Waterproof,Birthday Gift
- ✓ Why it fits: Connects pre-writing fine motor activities with letter recognition and sound awareness for holistic literacy foundation.
* We earn a small commission — at no extra cost to you.
Daily baby tips, exclusive Amazon deals & real parent advice — free forever.
This guide walks through six pre-writing activities for 3–5 year olds that use things already in your home—dal, cardboard, clay, jute string, newspaper. You'll track what "ready for pencil control" actually looks like, and know when to introduce formal writing without the pressure or the tears.
What's Happening at This Age
Between ages three and five, children are building what's called fine motor control: the ability to use small hand and finger muscles with precision. At three, most children have a fist grip—they hold a crayon like they're holding a stick. By four-and-a-half, many naturally transition to a tripod grip (thumb and two fingers), which is what you need for efficient writing.
According to the National Curriculum Framework for Foundational Stage (2022), the focus at this age should be on hand strength and finger isolation—the ability to move one finger independently from others. Worksheets and dot-to-dot pages don't build these. Tearing, moulding, threading, and painting do. Children who spend time on these activities naturally develop pencil readiness faster and with better posture than those drilled on letter formation too early.
Try This at Home
1. Finger-Tracing Rangoli Patterns on Rice or Flour
You need: A shallow steel katori or plate, uncooked rice or flour, a drawing or printed rangoli pattern as reference (optional).
How: Spread a thin layer of rice or flour evenly in the plate. Place a simple rangoli image (dotted lines, circles, waves) in front of your child—or draw one lightly on paper. Ask your child to trace the pattern with one finger, leaving a visible line in the rice. Repeat for 5–10 minutes. Afterward, smooth the surface and start again.
What it builds: Finger control, hand-eye coordination, and the motor memory of following a path—essential groundwork for letter formation. Tracing on rice feels like play, not a task.
Easier: Draw very thick, simple lines (zigzags, loops). Harder: Use finer sand or rava (semolina) to require more precision; add dots to connect rather than continuous lines.
2. Tearing Newspaper Strips for Grip Strength
You need: Old newspapers, a scrap container.
How: Sit with your child and tear newspaper into strips together. Start wide (5 cm strips), then gradually narrow them. Encourage your child to tear, not cut—this requires pinching and pulling, which builds hand strength. Make a game: "How thin can we make this piece?" Save the strips for a collage or papier-mâché project later.
What it builds: Pincer strength (thumb-and-finger power), hand stability, and awareness of hand position. This single activity is underestimated—children who tear paper regularly grip pencils more stably.
Easier: Use thicker paper (old cards, magazines). Harder: Tear into very narrow strips, then tear those strips in half.
3. Rolling Clay Snakes for Pincer and Palm Control
You need: Homemade salt dough (flour, salt, water, optional food colouring) or air-drying clay if available, a flat surface.
How: Roll dough into a ball. Show your child how to roll it between their palms in circular motions to create a "snake"—long, even, and smooth. Roll snakes of different thicknesses: thin as a strand of jute, thick as a thumb. Coil them into spirals, connect them into letters (A, O, S), or simply admire them.
What it builds: Bilateral hand coordination (both hands working together), sustained pressure control, and hand strength across the entire palm and fingers. Rolling clay is one of the most effective pre-writing activities because it mimics the hand position needed for holding a pencil.
Easier: Provide pre-rolled balls; child just flattens or shapes them. Harder: Roll and then press the snakes into letter shapes or use tools (plastic fork, stick) to add texture and detail.
4. Connecting Dots with Chalk on the Floor
You need: Sidewalk chalk, a clean courtyard or terrace floor, a pen to make dots beforehand (optional).
How: Use chalk to make 5–8 dots in a simple pattern (circle, line, star shape) on the floor. Give your child chalk and ask them to connect the dots with lines. The larger space and vertical/horizontal range builds different muscle groups than paper-based activities. Repeat daily with new dot patterns.
What it builds: Directional control, arm stability, and the ability to plan a line from start to finish. The full-body involvement (standing, moving across the floor) strengthens core muscles that support pencil grip.
Easier: Use just three dots; let the child scribble freely on the floor first. Harder: Add more dots, require specific colours ("connect the red dots with red chalk"), or make very small dots requiring precision.
5. Water-Painting on a Courtyard Wall
You need: A small bucket of water, an old paintbrush or sponge tied to a stick, a plain courtyard or terrace wall.
How: Dip the brush in water and "paint" on the wall, creating wet patches that dry after 5–10 minutes. Ask your child to paint patterns, letters, or shapes. The changing texture and gradual disappearance add sensory interest. This activity works year-round in India—adjust water temperature with seasons.
What it builds: Arm movement range, grip adjustment (holding a wet brush requires a different pressure than dry media), and hand-eye coordination at scale. Many children naturally begin copying letter shapes during water-painting without being asked.
Easier: Use a large sponge and let the child splash freely. Harder: Provide stencils or ask the child to copy simple shapes you paint first.
6. Threading Dried Pasta or Beads on Jute String
You need: Dried pasta with holes (penne, rigatoni), jute string or thick wool, a wooden knitting needle or skewer to help thread (optional).
How: Tie a bead or pasta piece to one end of the string as a stopper. Show your child how to hold the string steady with one hand and guide the pasta piece onto the string with the other. Work slowly—this is frustrating at first. Once threaded, tie the ends together to make a bracelet or necklace.
What it builds: Hand isolation (one hand holds, one hand guides), bilateral coordination, and patience. Threading is deceptively complex and builds the exact finger independence needed for writing.
Easier: Use large pasta holes and thicker string; hold the string taut between two people. Harder: Use small beads, thin thread, or make a pattern (bead, pasta, bead, pasta).
What "Getting It" Looks Like
As your child progresses through these activities over weeks and months, watch for observable shifts. Around age 3.5–4, notice whether your child can hold a utensil with three fingers rather than a fist, isolate the thumb and index finger independently, and adjust hand pressure (soft for water-painting, firm for tearing). By four-and-a-half, a child who's done these activities regularly will typically hold a crayon with a tripod grip, control line direction, and begin copying circular and straight shapes intentionally—not randomly.
These are the real markers of readiness, not age. A child who can thread pasta onto string but still fists a pencil isn't "behind"—their hand strength is growing, and formal writing will be easier within weeks.
When to Move On, and When to Ask
By age 4.5 years, most children are ready for light pencil and paper work—tracing letters, simple dot-to-dot, copying shapes. But readiness varies. If your child is still using a fist grip, struggles to tear paper, or avoids hand-intensive activities, continue these pre-writing activities for another month or two. There's no race. Talk to your paediatrician if your child shows reduced hand strength, very limited finger movement, or seems to avoid using one hand—these warrant a developmental screening.
If You're Homeschooling
Integrate these activities into weekly rhythm: rangoli tracing twice weekly (10 min), tearing paper during craft prep, clay rolling once weekly, chalk on the terrace daily if possible, and water-painting on weekends. Threading can be a quiet independent activity while you work. Together, they take 30–40 minutes per week and build more genuine writing readiness than any worksheet.
What Paediatricians Say
According to the Indian Academy of Pediatrics developmental guidelines (2024), formal pencil-and-paper writing practice before age 4.5 years is not developmentally appropriate and can create negative associations with writing. Fine motor activities through play—tearing, threading, painting—are the recommended pathway to writing readiness. Research also shows children who engage in sustained hand-strength activities have fewer pencil-grip problems and better writing fluency by age 6–7.
📚 Reviewed against
This guide was checked against the sources below. It is general parenting guidance, not medical advice — for any concern about your child's development, talk to your paediatrician.
- National Education Policy 2020 - Early Childhood Care & Education Framework — Government of India policy on developmentally appropriate practices for ages 3–5; recommends play-based learning over formal instruction
- National Curriculum Framework for Foundational Stage (NCF-FS) 2022 — NCERT framework specifying fine motor development milestones and activity guidelines for 3–6 year age group
- Indian Academy of Pediatrics Developmental Screening Guidelines 2024 — Clinical guidelines on typical fine motor milestones and when to screen for developmental concerns in preschool children
- WHO Early Childhood Development - Play-Based Learning — Global evidence on effectiveness of play-based pre-academic skill development versus formal worksheets in preschool ages
- Occupational Therapy Association of India - Fine Motor Development — Professional guidance on pencil grip development, hand strength building, and when formal writing instruction is appropriate
Last reviewed 05 Sep 2026
Frequently Asked Questions
What are some good pre-writing activities for a 3-year-old?
What are the five pre-writing activities?
What activities should a 3-year-old be doing at home?
Can I use worksheets to teach pre-writing at home?
How do I know if my child is ready for pencil and paper writing?
Is it normal for a 4-year-old to not want to write or draw?
Daily baby tips, exclusive Amazon deals & real parent advice — free forever.